

Beats Studio Buds right ear replacement is available for purchase separately on the official Beats website. If you happen to encounter a problem with the right earbud of your Beats Studio Buds, there is no need to worry as a solution is readily available.
Simply visit the official Beats website and you will find the option to purchase a replacement for the right earbud. This convenient solution allows you to revive your listening experience and enjoy your Beats Studio Buds to the fullest. Don’t let a malfunctioning right earbud hinder your enjoyment of these high-quality wireless headphones.
With the option to replace the right earbud, Beats ensures that you can continue enjoying your favorite music with the best sound quality possible.
Credit: www.beatsbydre.com
Identifying The Issue
When you encounter a problem with your Beats Studio Buds right earbud, the first step is to identify the issue. This will help you determine the extent of the problem and whether it can be resolved or if a replacement is necessary. By following a few simple steps, you can pinpoint the issue and take the appropriate action to get your earbud back in working order.
Check For Audio Imbalance
If you notice that the audio from your right earbud is significantly softer or distorted compared to the left earbud, there may be an audio imbalance issue. This can occur due to various reasons such as software settings, audio driver problems, or physical damage to the earbud. To check for audio imbalance:
- Play a piece of music or audio on your device.
- Pay attention to the audio quality and volume from both earbuds.
- If you notice a significant difference in volume or quality in the right earbud, continue to the next step.
Inspect Earbud For Physical Damage
Physical damage to your Beats Studio Buds can also be a cause for the issue in the right earbud. Carefully inspect the earbud for any visible signs of damage such as:
- Cracks or breaks in the earbud casing
- Damaged or frayed cables
- Loose or detached parts
If you identify any physical damage, it is important to address it properly. Depending on the severity of the damage, you may need to replace the entire earbud or specific components. Keep in mind that physical damage may not be covered under warranty, so it’s essential to handle the earbuds with care.
By checking for audio imbalance and inspecting the earbuds for physical damage, you can quickly identify the issue with your Beats Studio Buds right earbud. Once you have identified the problem, you can take the necessary steps to resolve it or reach out to the manufacturer for assistance. Remember, addressing the issue promptly will ensure that you can continue enjoying your music with the highest quality sound.

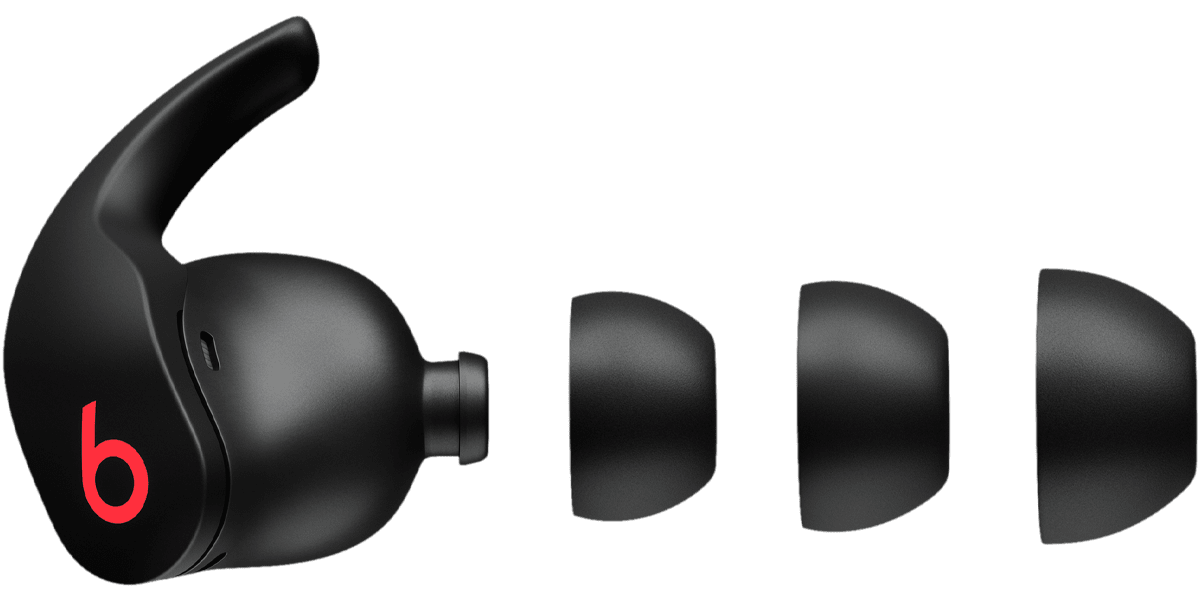
Credit: www.amazon.com
Troubleshooting Steps
Facing issues with the right ear of your Beats Studio Buds? Follow these troubleshooting steps to ensure a smooth replacement process. Check the connection, try a different device, reset the buds, and reach out to support if the issue persists.
Rest assured, these steps can help resolve the problem efficiently.
If you are experiencing issues with your Beats Studio Buds right ear, don’t worry! There are a few troubleshooting steps you can take to try and resolve the problem. By following these simple techniques, you might be able to restore the functionality of your earbud without the need for replacement or repair.
Resetting The Earbud
If your Beats Studio Buds right ear is not working properly, it may be helpful to reset the earbud. Resetting the earbud can often solve minor software glitches and connectivity issues. Here’s how you can do it:
- Start by placing the right earbud back into the charging case.
- Close the lid of the charging case and keep it closed for at least 10 seconds.
- Open the lid of the charging case.
- Press and hold the button on the back of the case for about 15 seconds, until the LED light on the front starts flashing white.
- Pair your Beats Studio Buds earbuds with your device again and check if the right ear is functioning properly.
Cleaning The Earbud
Dirt and debris can sometimes affect the performance of your Beats Studio Buds right ear. If you notice that the sound quality is distorted or the volume is low, it’s essential to clean the earbud. Here’s how you can do it:
- Start by removing the ear tip from the right earbud.
- Use a soft, lint-free cloth or a cotton swab slightly dampened with water to clean the exterior surface of the earbud.
- Gently wipe away any dirt or residue that may have accumulated on the earbud.
- Make sure to clean the metal contacts on the earbud and charging case as well, as they can affect the charging and connectivity.
- Allow the earbud to dry completely before reattaching the ear tip.
By following these troubleshooting steps, you can potentially resolve the issues with your Beats Studio Buds right ear. If the problem persists, it may be necessary to seek further assistance from Beats customer support or consider replacing the earbud. Remember to always refer to the official Beats documentation for specific instructions related to your device.
Replacing The Right Earbud
If you find yourself in a situation where you need to replace the right earbud of your Beats Studio Buds, don’t worry – we’ve got you covered. Ordering and replacing the earbud is a simple process that will have you back to enjoying your favorite tunes in no time. In this guide, we will walk you through the steps of ordering a replacement earbud and replacing it properly, ensuring a seamless audio experience.
Ordering A Replacement Earbud
Ordering a replacement earbud for your Beats Studio Buds is as easy as following these steps:
- Visit the Beats official website or authorized retailers that offer replacement parts.
- Locate the replacement earbud section on the website or inquire with the retailer.
- Ensure that you select the specific model and color of your Beats Studio Buds.
- Add the replacement earbud to your cart and proceed to checkout.
- Provide the necessary shipping information and make the payment.
- Once the order is confirmed, you will receive a confirmation email with the estimated delivery date.
Replacing The Earbud
Now that you have ordered your replacement earbud, it’s time to replace the right earbud of your Beats Studio Buds. Follow these steps for a hassle-free replacement process:
- Start by removing the existing right earbud from your Beats Studio Buds.
- Take the replacement earbud out of its packaging and carefully align it with the audio port.
- Gently insert the replacement earbud into the audio port, ensuring a snug fit.
- Listen for a click sound, indicating that the earbud is properly connected.
- Repeat the same process with the left earbud if needed.
- Once both earbuds are securely in place, test the audio by playing your favorite music or a test sound.
Preventive Measures
When it comes to maintaining your Beats Studio Buds and prolonging the lifespan of the right earbud replacement, it’s crucial to take preventive measures seriously. By following these preventive measures, you can ensure the durability and efficiency of your earbuds, ultimately saving you time and money in the long run.
Proper Handling And Storage
Proper handling and storage play a significant role in preventing the need for constant replacement of your Beats Studio Buds right ear. Always store your earbuds in their case when not in use to protect them from dust, moisture, and physical damage. Avoid exposing them to extreme temperatures and direct sunlight, as this can affect the performance and longevity of the earbuds.
Regular Maintenance
Regularly inspect the earbuds for any signs of wear and tear, such as frayed cables or damaged ear tips. Clean the earbuds and charging case regularly using a soft, dry cloth to remove any dirt or debris that may affect the sound quality. It’s also important to keep the firmware updated to ensure optimal performance and compatibility with your devices.
Credit: support.apple.com
Frequently Asked Questions For Beats Studio Buds Right Ear Replacement
Can I Replace One Beat Earbud?
Yes, you can replace one beat earbud. Simply contact the manufacturer or an authorized retailer to inquire about purchasing a replacement earbud for your specific model.
What Do I Do If I Lose One Of My Beats Studio Buds?
If you lose one of your Beats Studio Buds, you should take the following steps: 1. Check nearby areas and retracing your steps. 2. Contact Beats customer support and provide necessary details. 3. Consider purchasing a replacement from authorized retailers.
4. Take measures to prevent future loss, such as using a carrying case or attachment. 5. Stay informed about any new features or updates related to your Beats Studio Buds.
Can I Get My Beats Replaced?
Yes, you can get your Beats replaced.
What To Do If One Side Of Beats Stopped Working?
If one side of your Beats headphones stops working, try these troubleshooting steps: check the audio source, ensure the cable is securely connected, clean the audio jack, test with a different device, update the firmware, and contact customer support if the issue persists.
Conclusion
To sum up, the Beats Studio Buds Right Ear Replacement is a reliable solution that ensures you never miss a beat. With its seamless connectivity, comfortable fit, and high-quality sound, this replacement ensures a premium audio experience. Whether you’re a music enthusiast or on-the-go professional, the Beats Studio Buds Right Ear Replacement will enhance your listening experience and keep you immersed in your favorite tunes.
Say goodbye to missing out on the music you love and hello to uninterrupted enjoyment with this exceptional product.


