

To Create Stunning Water Bottle Labels, use a computer and graphic design software to create a custom label, then print it on label paper. Crafting water bottle labels involves designing them on a computer using graphic design software.
Incorporating elements like text, images, and brand logos into the label design is crucial. After finalizing the design, print it on label paper and attach it to the water bottles. This is a concise and accurate way to create water bottle labels that are eye-catching and convey the desired message.
Are you looking to elevate your water bottle branding or personalization? Crafting custom water bottle labels can be a fun and creative way to achieve this. Whether it’s for a special event, business, or personal use, having unique and appealing labels can stand out and leave a lasting impression. This article will guide you through the simple yet effective process of making water bottle labels, providing step-by-step instructions to ensure your labels look professional and suit your specific needs.
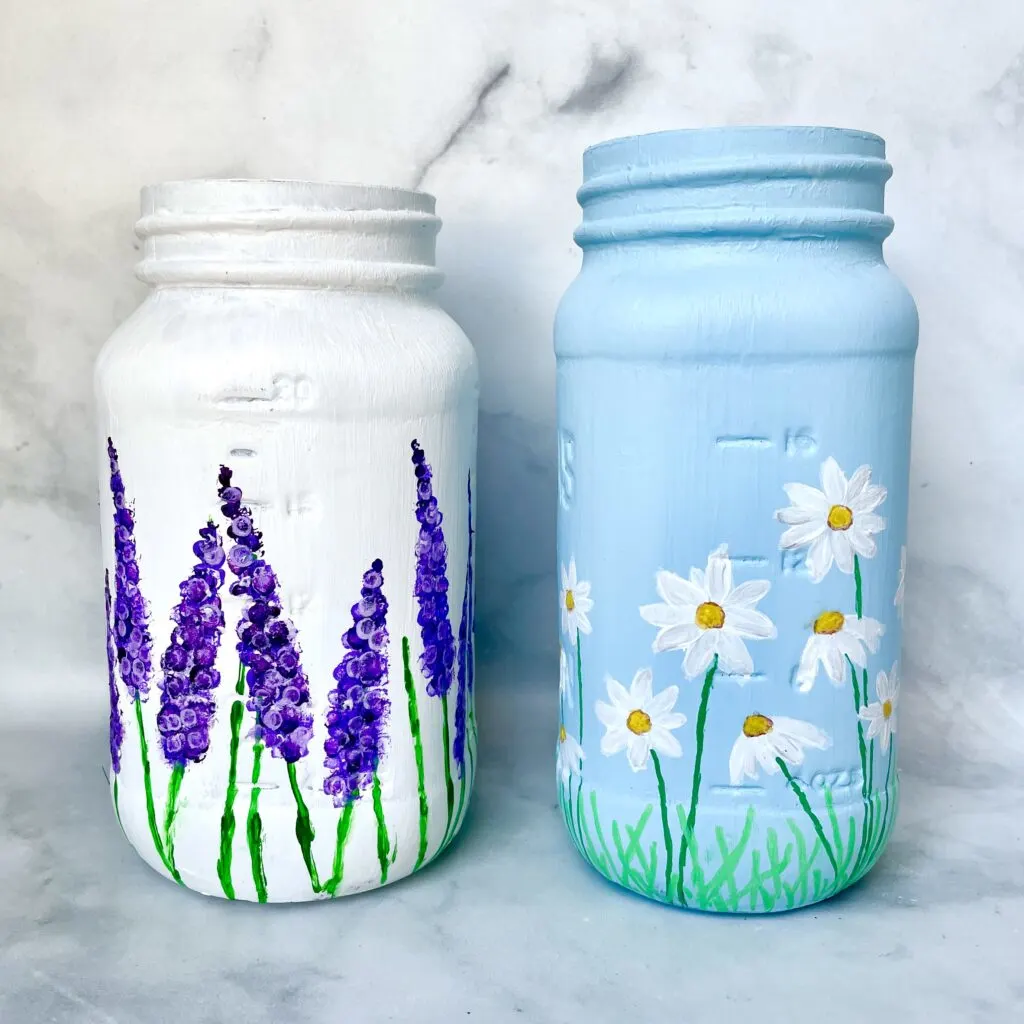
Credit: feelingnifty.com
Choosing The Right Design
When it comes to creating your own water bottle labels, choosing the right design is essential to make your bottles stand out. From deciding on the theme to selecting colors and picking fonts, the design plays a crucial role in capturing attention. Let’s delve into each aspect to help you craft eye-catching water bottle labels that leave a lasting impression.
Deciding On The Theme
The first step in creating captivating water bottle labels is to decide on the theme. Consider the occasion or event for which the bottles will be used. Whether it’s a wedding, corporate event, or birthday party, aligning the theme with the purpose of the event will guide your design choices.
Selecting Colors
Another crucial aspect of the design process is selecting the right colors for your water bottle labels. Keep in mind the theme and the emotions you want to evoke. For instance, bold and vibrant colors may be suitable for a lively celebration, while pastel tones could work well for a more elegant and refined affair.
Picking Fonts
The choice of fonts can greatly impact the overall look of your water bottle labels. Select fonts that complement the theme and are easy to read from a distance. Consider using a combination of script and sans-serif fonts to create visual interest while ensuring legibility.
Creating The Label Design
In the create stunning water bottle labels, designing plays a crucial role in making the product visually appealing and memorable. The label design must effectively communicate the brand message and provide essential information. Here’s how to craft an eye-catching label design:
Gathering Design Inspiration
Before diving into the design phase, it’s essential to gather inspiration to fuel creativity. Conduct research by studying existing water bottle labels in the market, examining design trends, and exploring various visual elements. Look for inspiration from different industries and art forms to bring a unique perspective to the label design.
Designing In Graphic Software
Utilize graphic design software such as Adobe Photoshop, Illustrator, or Canva to bring the label design to life. Start by creating a canvas with the dimensions of the water bottle label and begin experimenting with layout, typography, colors, and imagery. Ensure that the design aligns with the brand’s identity and resonates with the target audience.
Incorporating Branding Elements
When designing the label, incorporate branding elements such as the company logo, color palette, and font styles. These elements help establish brand recognition and create a cohesive look across different product offerings. Additionally, the label should clearly convey product information, including ingredients, instructions, and any regulatory requirements.
Printing And Cutting The Labels
After designing your water bottle labels, the next step is to print and cut them. This crucial phase brings your creative vision to life and ensures that your labels are ready to be applied to your water bottles. In this section, we will explore the key factors to consider when printing and cutting your labels, including choosing the right printing method, selecting label paper, and the cutting process.
Choosing The Right Printing Method
The printing method you choose can greatly impact the quality and durability of your water bottle labels. It ultimately determines how vibrant and long-lasting the colors will be on your labels. There are a few popular printing options to consider:
- Inkjet Printing: Inkjet printers are suitable for small-scale label printing. They are cost-effective, easy to use, and offer decent color quality. However, inkjet-printed labels may be prone to smudging or running when exposed to water.
- Laser Printing: Laser printers are ideal for larger print runs as they are fast and produce crisp, professional-looking labels. The waterproof toner used in laser printers ensures the labels remain intact even when exposed to moisture.
- Professional Printing: If you require high-quality labels with complex designs or special finishes like embossing or foil stamping, professional printing services are worth considering. These services offer advanced printing techniques that can help your labels stand out.
Selecting Label Paper
When it comes to water bottle labels, durability is crucial. You need a label paper that can withstand moisture, handling, and even refrigeration. Here are a few common label paper options to consider:
| Label Paper Type | Advantages | Disadvantages |
|---|---|---|
| Vinyl Labels | – Water-resistant – Durable – Can withstand refrigeration |
– Costlier than other options – Limited availability |
| Polypropylene Labels | – Waterproof – Tear-resistant – Suitable for curved surfaces |
– Relatively expensive – Limited visual appeal |
| Paper Labels with Coating | – Affordable – Versatile – Can feature various finishes |
– Not fully waterproof – Prone to smudging or tearing |
Cutting The Labels
Once your labels are printed, the final step is to cut them to the desired size and shape. Here’s a simple process to ensure clean and precise cuts:
- Prepare the Tools: Gather a sharp pair of scissors or a paper cutter, a ruler, and a cutting mat or a clean, flat surface.
- Measure and Mark: Use a ruler and a pencil or a marker to measure and mark the dimensions of your labels on the printed sheet.
- Cut with Care: Using the marked lines as guides, carefully cut the labels using either a pair of scissors or a paper cutter. Take your time to ensure straight and even cuts.
- Trim Excess: If needed, trim any excess paper around the labels to create a clean and professional-looking finish.
By following these steps, you’ll be able to print and cut your water bottle labels with ease, ensuring they are ready to be applied and enhance the presentation of your products or events.

Credit: www.amazon.com
Applying The Labels
Learn how to easily make your own water bottle labels with these simple steps. From designing to applying, this guide will ensure your bottles stand out with personalized labels.
Preparing the Water Bottles: Before applying water bottle labels, it’s important to ensure that the bottles are clean and dry. This will provide a smooth surface for the labels to adhere to. Start by washing the bottles with mild soap and warm water. Rinse thoroughly, making sure to remove any soap residue. Once washed, allow the bottles to air dry completely. Applying Labels Evenly: To achieve a professional-looking result, it’s essential to apply the labels evenly on the water bottles. Start by measuring the dimensions of your label and the circumference of the bottles. This will help you ensure that the labels fit perfectly.
Pro Tip: Use a ruler or measuring tape to measure the label and the bottle’s circumference accurately. Once you have the measurements, you can mark the exact position where the label should be centered. This step is crucial in achieving a polished appearance.
Pro Tip: For multiple bottles, consider creating a small template using paper or cardboard to help you position the labels consistently on each bottle. After positioning the label, press it firmly onto the bottle, starting from the center and moving outwards. Smooth out any wrinkles or air bubbles to ensure a seamless application.
Pro Tip: To prevent fingerprints or smudges on the labels, it’s a good idea to handle them with clean, dry hands. Sealing the Labels: To make the water bottle labels more durable and water-resistant, it’s recommended to seal them. This will protect them from smudging or peeling off when exposed to moisture. There are different methods to seal the labels depending on your preference and the materials you have available. One popular option is to use clear adhesive laminate sheets. Simply cut the sheets slightly larger than the labels, remove the backing, and carefully place the laminate sheet over the label. Smooth out any air bubbles or creases, ensuring a flat and professional finish. Trim off any excess laminate around the edges of the label. Another option is to use clear packing tape. Cut a piece of tape slightly longer than the label, and carefully apply it over the label’s surface. Smooth it out to remove any air bubbles or creases, then trim off the excess tape.
Pro Tip: If you want to add an extra layer of protection, you can apply a second layer of adhesive laminate or tape over the initial seal. This will increase the longevity of the labels, especially if they will be exposed to water or frequent handling. By following these simple steps, you can create professional-looking water bottle labels that will impress your guests or customers. Remember to take your time and pay attention to detail when applying and sealing the labels to achieve the best results.
Adding Finishing Touches
When it comes to making water bottle labels, adding the finishing touches is what takes your design to the next level. These small details can make a big difference in the overall look and feel of your water bottle labels. In this section, we will explore some key elements that will help you add that extra personalization and professionalism to your labels.
Adding Personalized Details
Personalization is key when it comes to How to Create Stunning Water Bottle Labels that stand out. By adding unique and personalized elements to your design, you can make your labels more memorable and special. Here are some ideas to consider:
- Include a custom logo or monogram that represents your brand or event. This will add a touch of professionalism and uniqueness to your labels.
- Add a personalized message or quote that relates to the occasion or purpose of the water bottles. This can be a fun way to engage your audience.
- Consider using different fonts and colors to highlight important information or to add visual interest to your labels.
Utilizing Waterproofing Techniques
Water bottle labels need to be durable and able to withstand moisture. Utilizing waterproofing techniques will ensure that your labels stay intact and your design remains vibrant. Here are some techniques you can try:
- Print your labels on waterproof or weatherproof label paper. This special type of paper is designed to resist water and keep your labels looking great, even when they get wet.
- Use a clear, waterproof adhesive to attach your labels to the water bottles. This will provide an extra layer of protection and prevent smudging or peeling.
- If you don’t have waterproof materials, consider laminating your labels. This will create a barrier against moisture and help preserve the integrity of your design.
Labeling Tips And Tricks
When it comes to labeling your water bottles, there are a few tips and tricks that can make the process easier and more efficient. Here are some helpful suggestions:
| 1. Measure the dimensions of your water bottles before designing your labels. This will ensure that your labels fit perfectly and look professional. |
| 2. Print a test label on regular paper to make sure you are happy with the design and layout before using your waterproof materials. |
| 3. Trim the edges of your labels carefully to create a clean and polished look. |
| 4. Use a ruler or a straight edge to help you align the labels straight on the water bottles. |
| 5. Allow enough time for the labels to dry or set before handling or distributing the water bottles. |
By following these simple tips and tricks, you can ensure that your water bottle labels turn out just the way you envision them. Adding personalized details, utilizing waterproofing techniques, and applying labeling tips will take your labels from basic to extraordinary. Now, it’s time to put these finishing touches into action and create stunning water bottle labels.
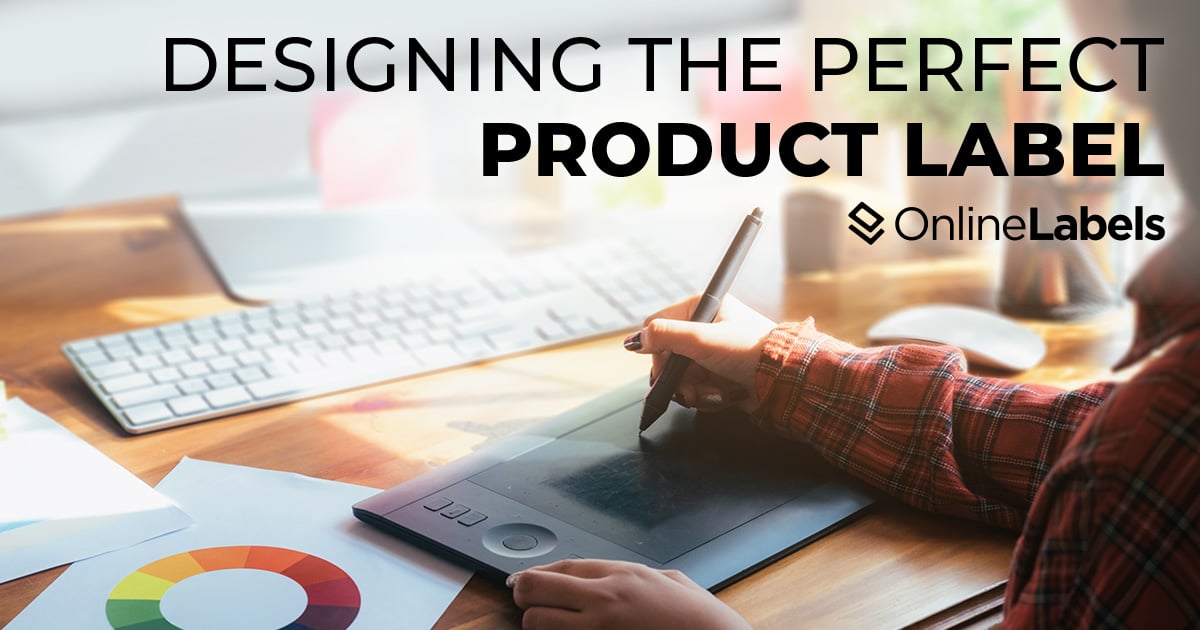
Credit: www.onlinelabels.com
Frequently Asked Questions Of How to Create Stunning Water Bottle Labels
How Can I Design Water Bottle Labels?
To design water bottle labels, you can use online design tools like Canva or Adobe Spark. Start by choosing a template, customize it with your text and images, and then download and print the labels. Don’t forget to consider the dimensions and waterproof materials for the labels.
What Type Of Paper Should I Use For Water Bottle Labels?
For water bottle labels, it’s best to use a waterproof and high-quality material like vinyl or polyester. These materials are resistant to water and won’t smudge or peel off when exposed to moisture. You can find printable waterproof label sheets or use a professional printing service.
How Do I Apply Water Bottle Labels Without Wrinkles?
To apply water bottle labels without wrinkles, make sure the bottle is clean and dry. Start by peeling off a small corner of the label and gradually smooth it down, avoiding air bubbles or creases. Use your fingers or a credit card to press the label firmly and evenly onto the surface, smoothing out any wrinkles as you go.
Conclusion
Get creative and customize your water bottles with easy DIY labels. By following these simple steps, you can design personalized labels that will make your bottles stand out. From choosing the right materials to printing and applying the labels, this guide provides all the necessary information for a successful project.
Get ready to impress your guests or customers with professionally designed water bottle labels that reflect your unique style and brand. Cheers to creativity and customization!


